How to Build a Simple Personal Blog
This is a tutorial on how to create a simple blog using Jekyll and GitHub Pages. I want to give you a fair warning. If you have never worked in software development this process may seem cumbersome. But, if you are willing to get your hands dirty it is well worth it. You’ll also be able to tell all your friends and co-workers that you are a real website developer!
I decided to use Jekyll instead of one of the many other blogging platforms (WordPress, Squarespace, Medium, etc…) because it is free and gives me full control over my design choices. It also has a lot of great features built in; such as themes, Google Analytics, and Disqus support.
There are hundreds of themes available online. Some of them are free and some are not. The following websites are great resources to get an idea of what is out there:
Note: This guide is written with MacOS users in mind.
Prerequisites
The following software is required to get started.
Installing Ruby
My preferred way to manage Ruby is using rbenv, a Ruby environment manager. Install rbenv using Homebrew.
brew install rbenv
Once installed, add rbenv shims to your path:
echo 'export PATH="$HOME/.rbenv/bin:$PATH"' >> ~/.bash_profile
echo 'eval "$(rbenv init -)"' >> ~/.bash_profile
exec $SHELL
This will make the ruby version we are about to install available.
Find the latest version of ruby using rbenv:
rbenv install --list
The output will look something like this:
2.6.1               # Previous
2.6.2               # Previous
2.6.3               # Latest
2.7.0-dev           # Developer
2.7.0-preview1      # Preview
You want to install the “Latest” version. That is the version with the highest number that isn’t the “Developer” or “Preview” version.
Install the latest version of ruby:
rbenv install 2.6.3
Set this version as your global ruby version:
rbenv global 2.6.3
Confirm that this version is set:
ruby -v
Installing Bundler
ruby includes a package manager called gem. Use gem to install bundler:
gem install bundler
Confirm that bundler is installed using:
bundler -v
Installing Jekyll
jekyll is a framework for building static websites. Install it using gem:
gem install jekyll
Confirm that jekyll is installed using:
jekyll -v
Creating Your Blog
Now that we have everything installed, we can create an awesome simple blog using jekyll!
You can use any name you like for your project. I chose personal-blog.
jekyll new personal-blog && cd personal-blog
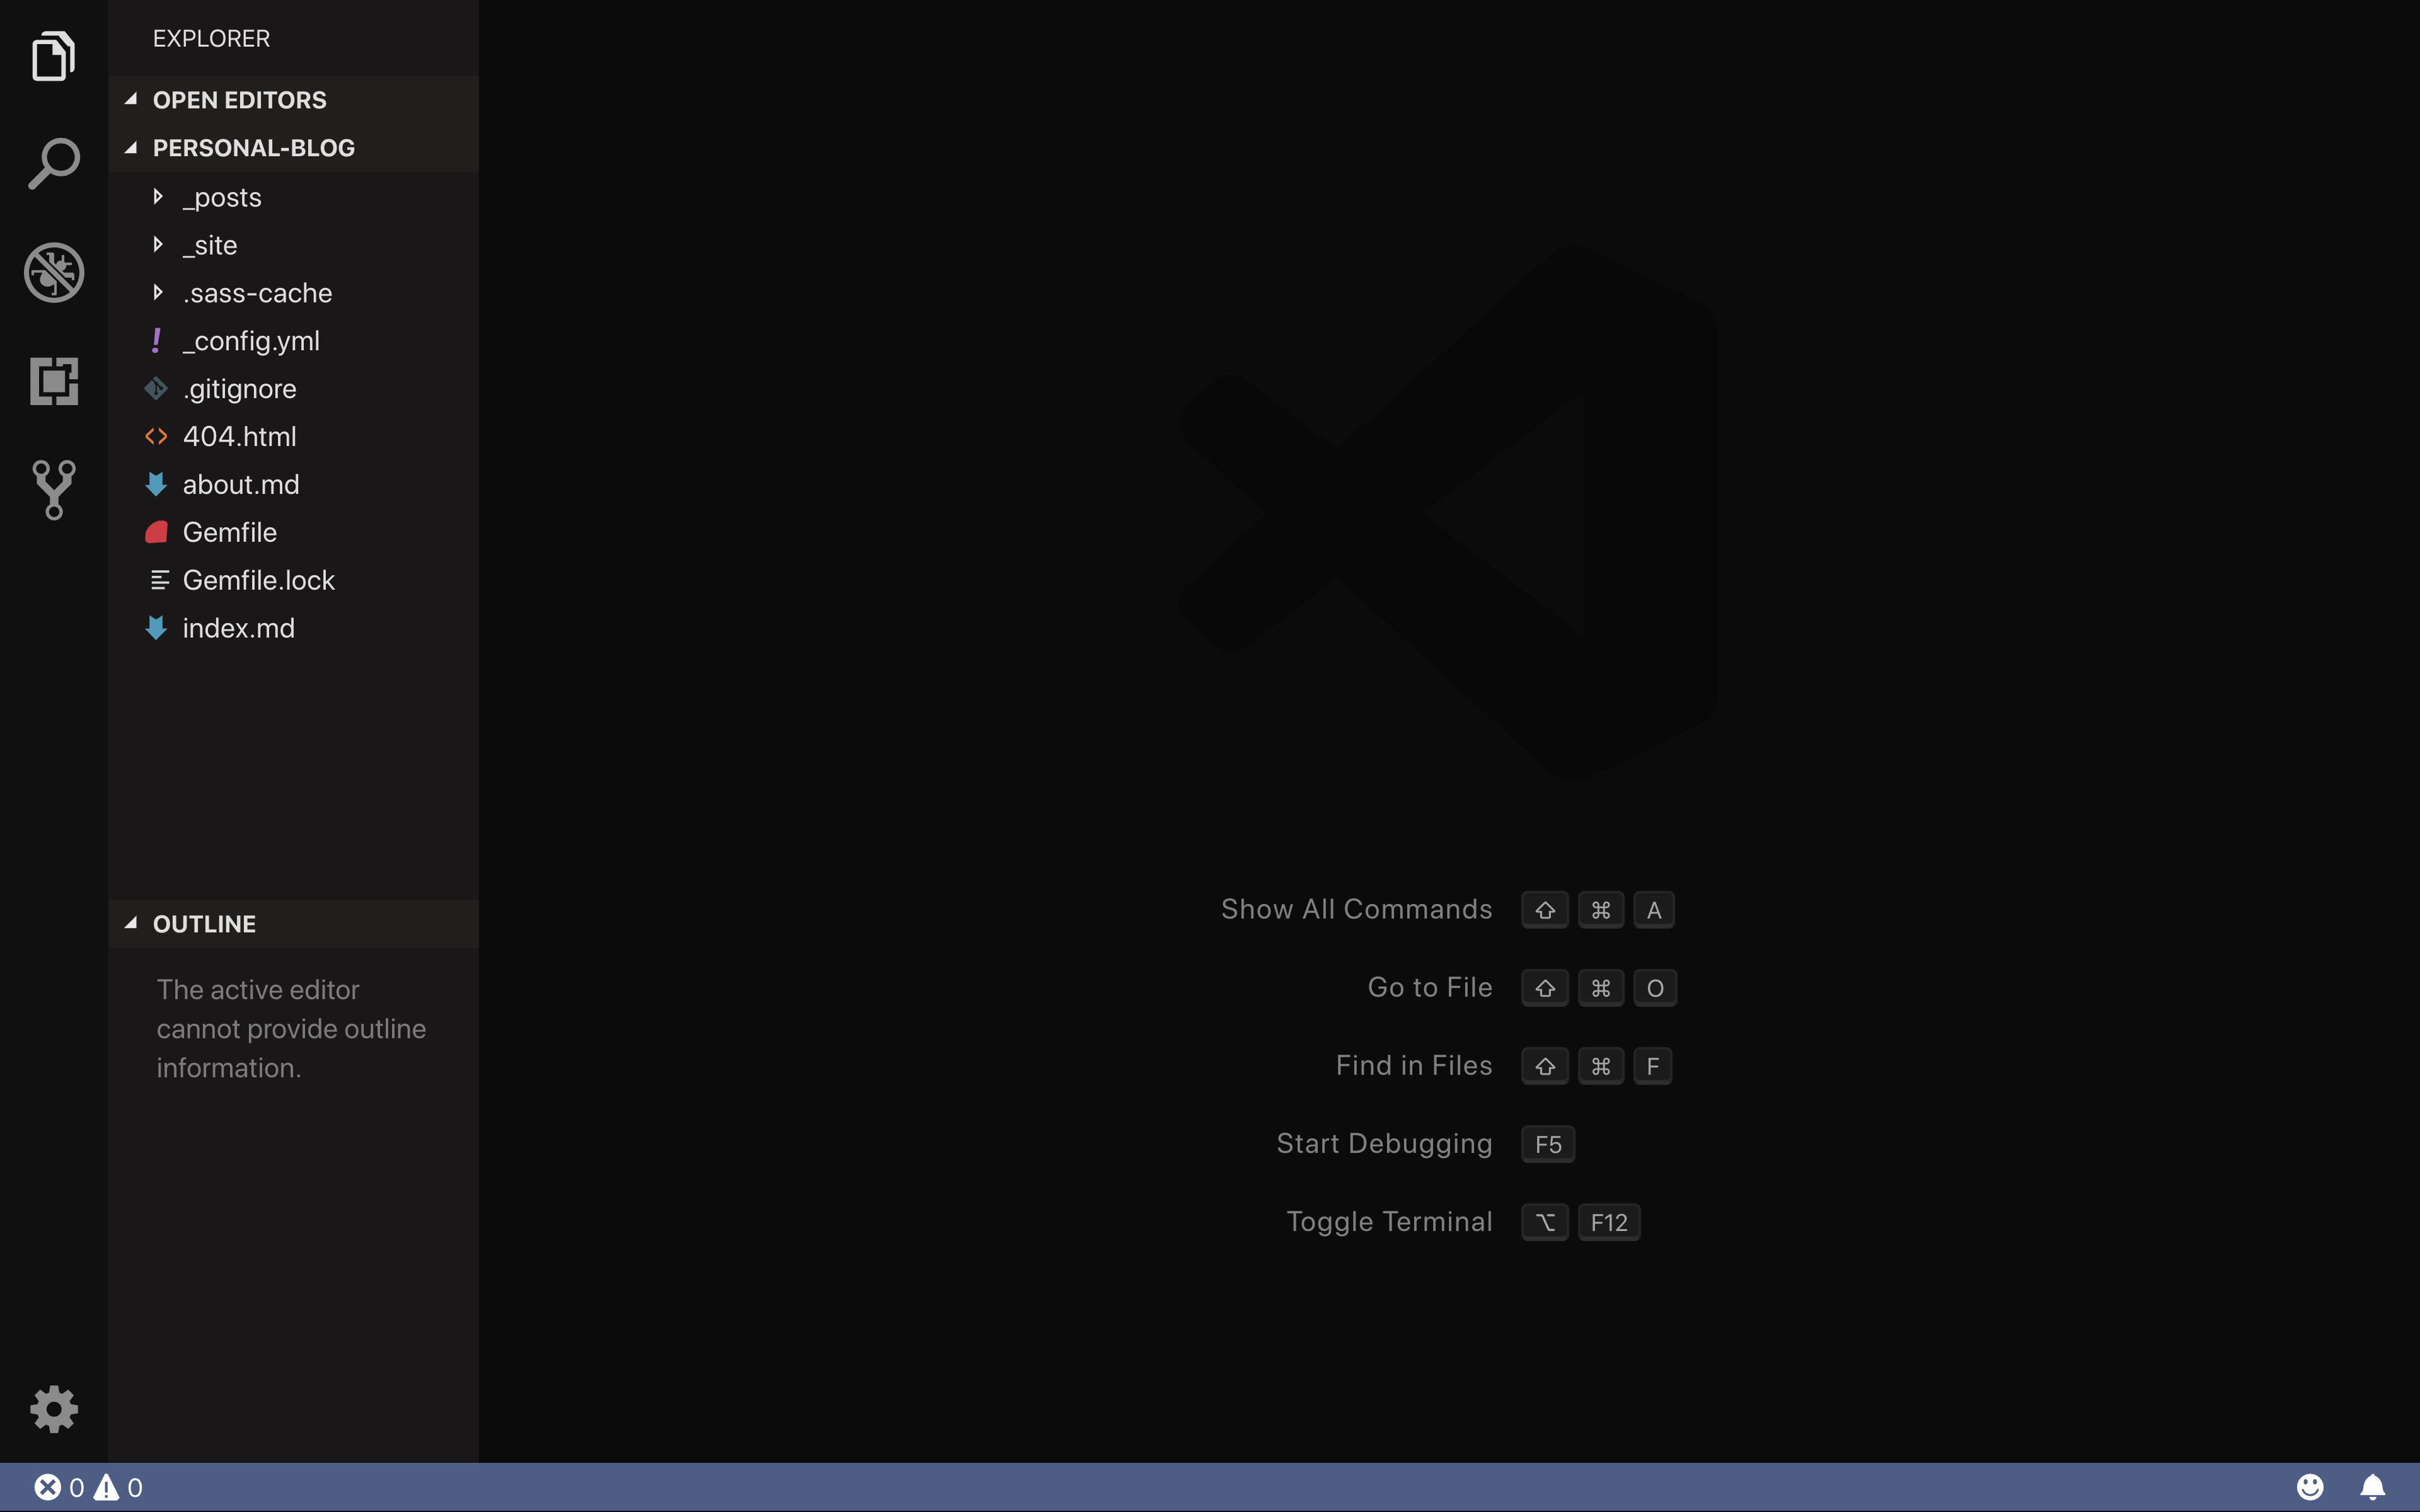
This will generate everything you need to get started in a new directory called personal-blog. You can view those files using ls or open them in your favorite editor. I like to use Visual Studio for working on websites. This is how the contents of your blog will appear in Visual Studio:
Next, you need to use bundler to install all of the necessary dependencies:
bundle install
You can now view your blog at localhost:4000 in your web browser after starting your server using:
bundle exec jekyll serve
Draft a Post
I like to use the jekyll-compose gem to streamline my writing. Install it by adding it to the jekyll_plugins section of your Gemfile:
group :jekyll_plugins do
  gem 'jekyll-compose'
end
Then install it using:
bundle install
Once installed you have some new commands at your disposal to draft, publish and unpublish posts. Let’s get started by creating our first draft:
bundle exec jekyll draft "My First Post"
This will create a new file in the _drafts directory called my-first-post.md.
You can then view it on your local server by issuing the --drafts flag on startup:
bundle exec jekyll serve --drafts
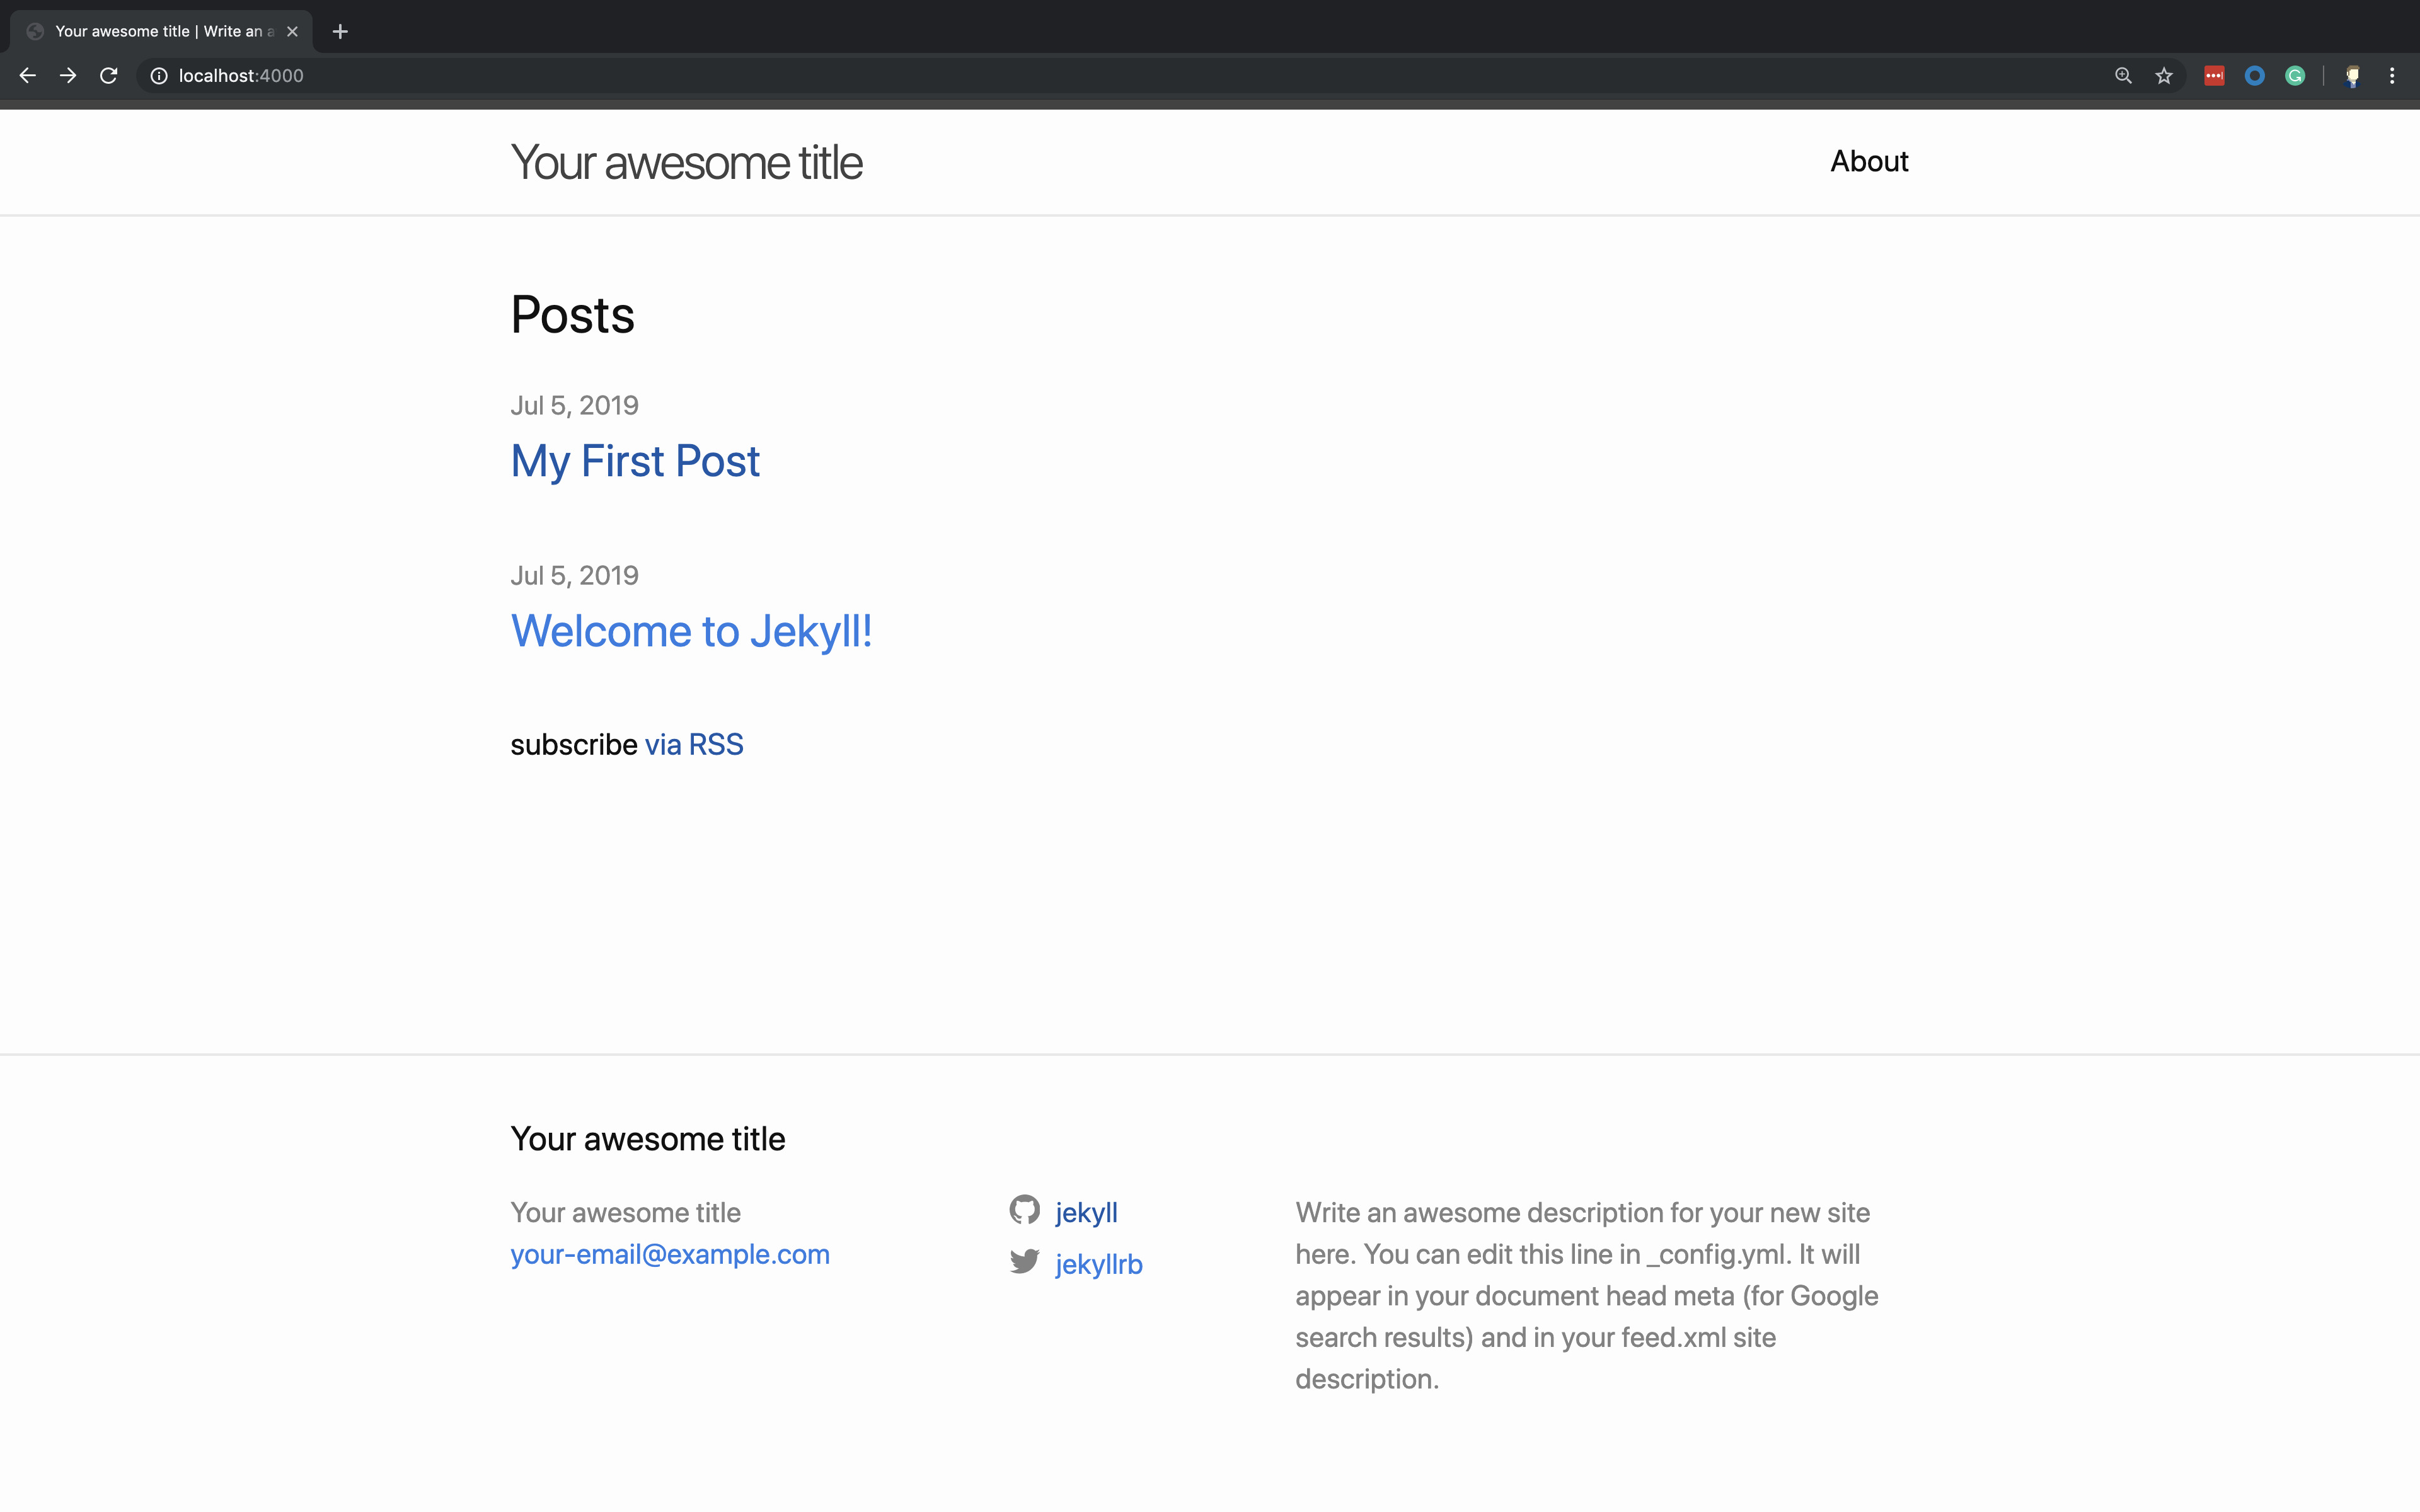
Now when you navigate to localhost:4000 in your web browser, you will see your new post, “My First Post”:
Publish a Post
Once you are ready, use the publish command to publish your draft:
bundle exec jekyll publish _drafts/my-first-post.md
This will move the file my-first-post.md to the _posts folder and rename it using the current date as 2019-07-05-my-first-post.md.
Now the post will be available on our server without using the --drafts flag:
bundle exec jekyll serve
If you want to unpublish the post and return it to the drafts folder, you can do so using the unpublish command:
bundle exec jekyll publish _posts/2019-07-05-my-first-post.md
Deploy to GitHub Pages
Deploying to GitHub Pages is the easiest way to make your blog accessible on the internet. Once deployed your blog will be available on the github.io domain.
Before publishing to GitHub Pages, you first need to add the github-pages gem to your Gemfile. Jekyll already generated it for us, all you have to do is uncomment the following line and run bundle install.
gem "github-pages", group: :jekyll_plugins
Now you are ready to push your project to GitHub. Create a public repository using this guide.
Once you have pushed your code to the master branch. Go to your project settings and enable GitHub Pages:

Note: I’ve registered my blog under a custom domain so your settings will look a little bit different. Check out my post on How to Build a Simple Personal Website to learn how to register a custom domain.
More information on deploying to GitHub Pages can be found here.
Next Steps
Now you have an awesome blog published on the internet!
Jekyll has tons of features and they have provided some great documentation to learn how everything works. Check out the Step by Step Tutorial after a nice hike to learn more.
I hope you learned something. Leave me a comment below if you run into any problems or have additional questions.